
Do you want to build an online marketplace in WordPress?
Building an online marketplace is one of the best ways to make money online. While it’s not a get-rich-quick scheme, with the right strategies, it’s totally possible to earn a solid income with an online marketplace.
In this article, we’ll show you how to build an online marketplace in WordPress.
What Is an Online Marketplace?
An online marketplace is a type of eCommerce website that allows users to become a seller and list their products for sale. As a marketplace owner, you don’t own any inventory. Your business is to allow users to list their products on your website and facilitate the transaction.
You can make money by earning a specific commission for each sale on your marketplace.
eBay is the perfect example of an online marketplace.
How Much Does it Cost to Make an Online Marketplace?
A physical marketplace would cost millions of dollars and consumes years to set up. However, an online marketplace can be built in less than an hour and costs as low as $6.95 / month.
Here are the tools you’ll need to build an online marketplace and let’s see how much they cost:
- Domain name ($14.95 / year): A domain name is the address of your website on the internet, like Google.com or IsItWP.com. It’s what your visitors type into their browsers to access your website.
- Web hosting ($13.99 / month): Web hosting is where people store the content and files of their websites. When someone types in your web address (domain name), then they’ll be directed to the website files stored on your web hosting server.
- WordPress (free): WordPress is the most reliable and popular platform for building any kind of website, including a marketplace.
- WooCommerce (free): WooCommerce is the world’s largest eCommerce plugin for WordPress.
- WC Wendors plugin (free): This is the #1 marketplace plugin for WooCommerce that transforms an eCommerce website into a fully-fledging marketplace.
- SSL certificate ($6.67/month): SSL adds a green padlock icon to the address bar, telling your customers that your website is trustworthy to process an online transaction.
That means the combined cost of building a website will cost around $263 annually, meaning $22 / month. When you’re starting out, this seems like a bit expensive. That’s why we’ve negotiated a deal with Bluehost to offer our users everything they need for $6.95 / month. Pay annually and save more on Bluehost.
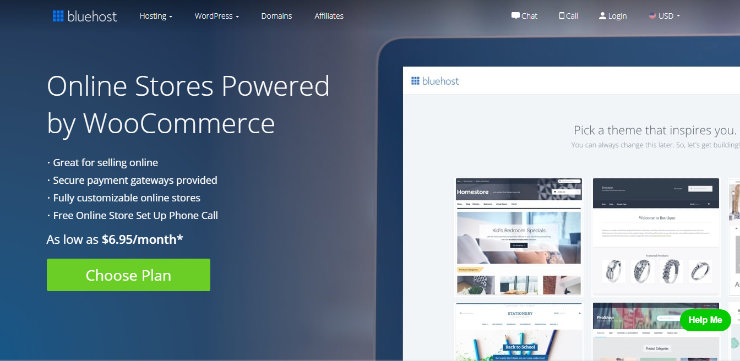
Bluehost is an officially recommended WordPress hosting provider by WordPress.org. They offer a wide variety of hosting options, but for an online marketplace, we recommend their WooCommerce hosting, which comes bundled with everything you need for a marketplace.
Claim This Exclusive Bluehost Offer»
Step 1: Creating an Online Store with WordPress
First, you’ll need to follow our step by step guide on how to create an online store in WordPress using WooCommerce.
Though WooCommerce is a powerful plugin, it creates a single vendor store and only you can add products. This store doesn’t allow vendors to sign up which means you’ll need an addon or plugin to convert your online store into a marketplace.
Step 2: Switching Your Store into a Marketplace Using a Plugin
Once your online store is ready, you can go ahead and install the WC Vendors plugin. For more details, you should check out our article on how to install a WordPress plugin.
WC Vendors plugin will work as an addon to turn your single vendor online store into a multi-vendor marketplace. Once you set it up, the vendors can sign up, add their products, and sell online from your website.
As an administrator, you can control the vendors and marketplace. The plugin allows you to set a commission percentage on sales, product categories, payment gateways, and more.
Once activated, you can go ahead to WC Vendors » Settings page to make changes on your website.
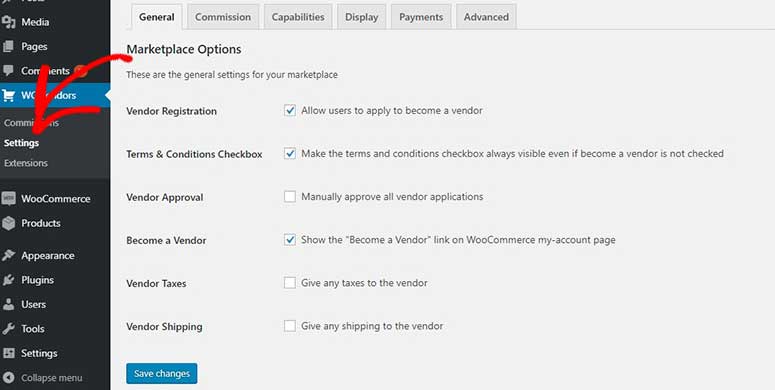
In the general settings, you’ll find the following options:
- Allow vendor registrations
- Terms & conditions checkbox
- Manual vendor approval
- Become a vendor link
There are other settings as well. You can select the options that you want to enable on your marketplace.
Note: Click on the ‘Save Changes’ button before you move to other tabs for further settings.
After that, you can switch to ‘Commission’ tab to add the commission settings for the vendors. The percentage you add in this field will be the amount paid to vendors for their sales.
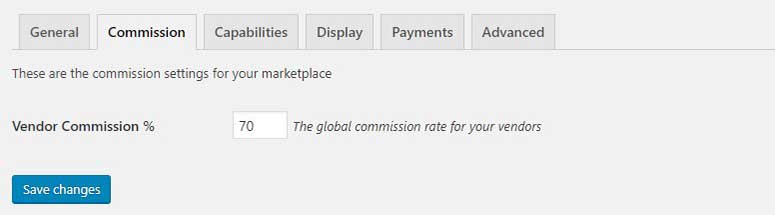
You can also add a separate commission percentage for each vendor and products.
Now you can go to ‘Capabilities’ tab to manage the vendors’ permissions. The general capabilities settings have multiple options that include allowing vendors to add/edit products, push products directly to the marketplace without approval, view and export orders, and front end sales reports.
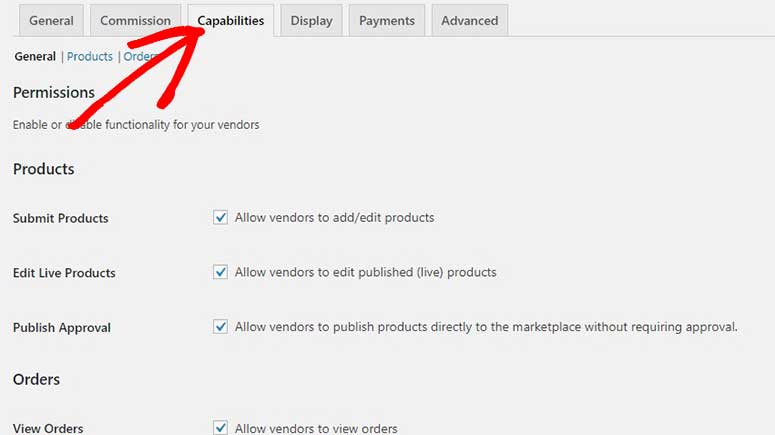
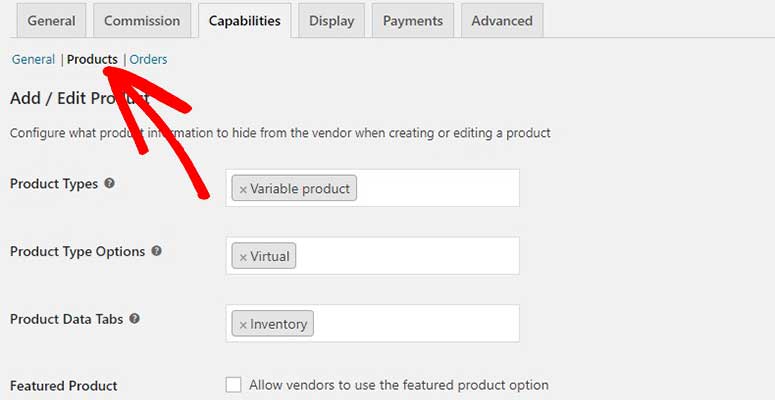
If you switch to ‘Products’ settings under the Capabilities tab, you can add product types, type options, product data tabs, and allow vendors to add featured products.
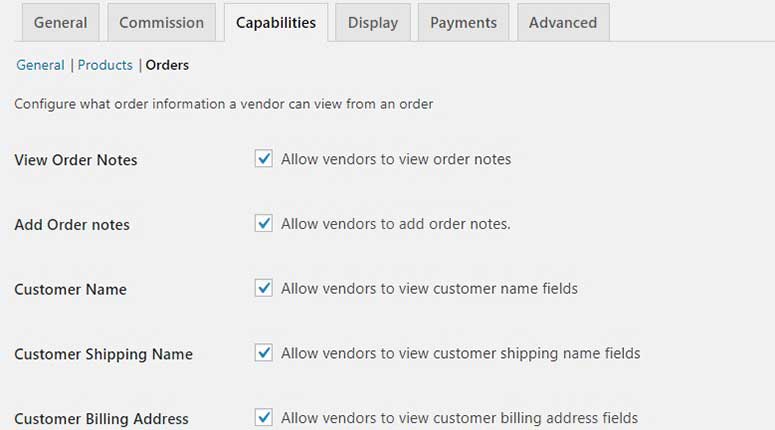
Next, you can go to ‘Orders’ settings to configure what a vendor should see for an order they receive. There are multiple settings that include allowing vendors to see order notes, add order notes, see customers name, shipping name, addresses, and more.
You can simply uncheck any setting that you don’t want the vendors to see for their orders.
Once you’re done with the vendors’ capabilities settings, you can head over to ‘Display’ tab.
It has custom settings to create pages for vendors. To create pages, you can go to Pages » Add New in WordPress and add the shortcodes given under each dropdown.
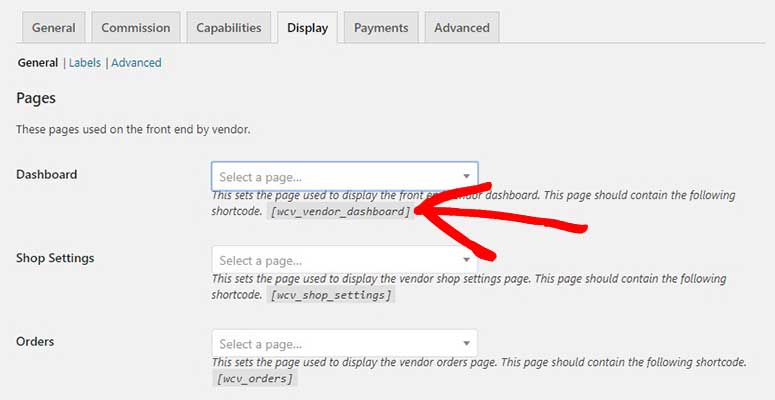
After creating pages with these shortcodes, simply return to choose those pages under the ‘Display’ tab.
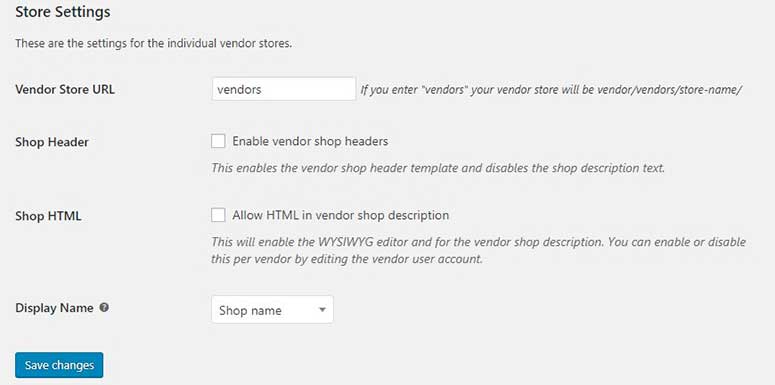
Scroll down on the same page to ‘Store Settings’ and change the individual vendor’s store options that include vendor store URL, display shop header template, display shop name, etc.
After that, you can go to the ‘Payments’ tab. If you have experience with the online marketplaces, you would know that the vendors get paid on weekly, bi-weekly, and monthly net.
However, the recommended way is to clear the payments manually. In the meantime, you can monitor the product reviews and process the customers’ refund requests.
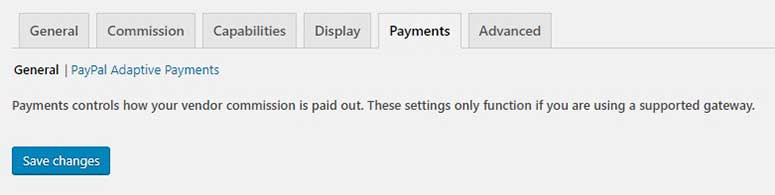
You can also use the paid addons from WC Vendors to set up automatic payments to vendors. This plugin supports Stripe, Escrow, MangoPay, and more.
Each payment method has its own settings. Once you select a payment gateway, you may need to enter your API keys for the payments to process smoothly.
This completes the settings for WC Vendors plugin. Head back to WooCommerce settings to enable account management for customers.
Step 3: Allowing Customers to Create an Account
Simply go to WooCommerce » Settings page. Under the ‘Accounts and Privacy’ tab, you need to select all settings for account creation.
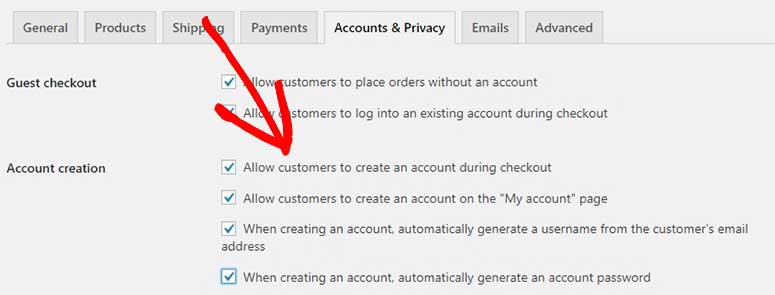
Scroll to the bottom and click on the ‘Save Changes’ button.
Step 4: Adding Accounts Page to Your Navigation Menu
Next, you can go ahead and put the account registration option on your navigation menu. It will ease the customer registration process and all your users can sign up quickly.
You need to visit Appearance » Menus page to add My Account and Checkout pages to your navigation menu.
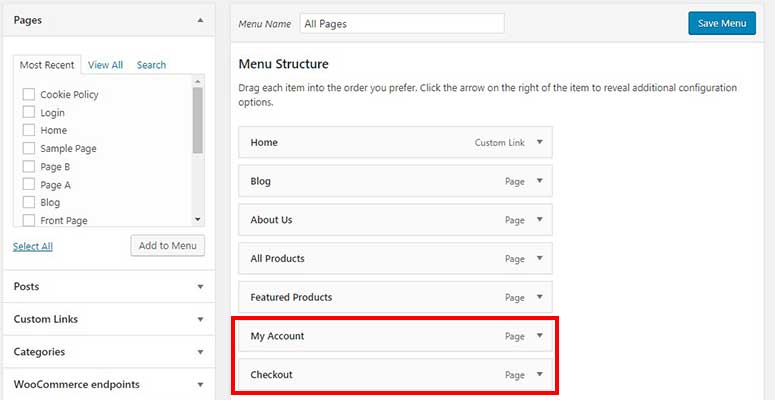
After adding these pages, click on the ‘Save Menu’ button to continue.
If there’s no ‘My Account’ page available, then go ahead and create a new page with ‘My Account’ as the title. You need to add this shortcode on the page:
[woocommerce_my_account]
Step 5: Run and Manage Your Online Marketplace
Once your online marketplace is ready, you can test if everything works as expected by creating a new account, approving test pending vendor requests, and more.
The vendors can register for an account and log into their accounts from your website.
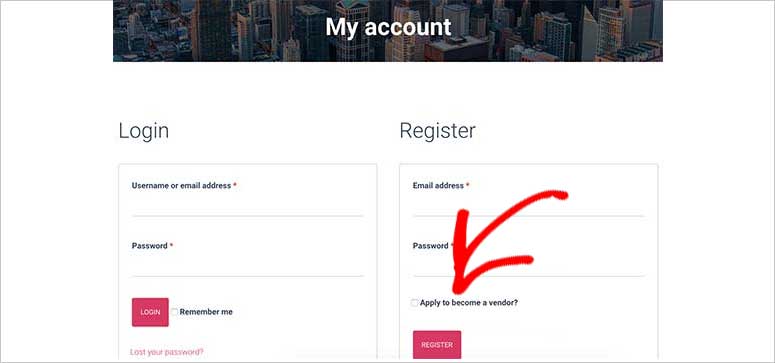
After logging in, vendors can add their products to the online marketplace. They need to set up their shops to view orders, sales reports, and other details.
All vendors should also provide payment information for getting paid, based on the payment gateway they select. For manual payment processing, vendors need to submit their bank account details.

You’ll also get multiple email notifications on the actions taken by vendors. It includes notifications for product requests. You can approve, edit, or delete a product as you have the full control on your online marketplace.
We also recommend you to check out these articles to improve your eCommerce marketplace’s performance:
- How to set up Google Analytics eCommerce tracking for WooCommerce
- Best WooCommerce themes for your online marketplace
That’s all.
We hope this guide helped you learn how to build an online marketplace in WordPress. You may also want to check out our article on best eCommerce hosting companies.

Comments Leave a Reply